ABB Bomem MB154S Fourier-Transform Infrared (FTIR) Spectrometer

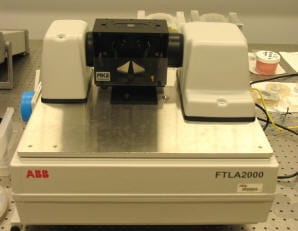
FTIR Spectrometer
An ABB Bomem MB154S Fourier-transform infrared (FTIR) spectrometer is available for transmittance and reflectance measurements in the wavelength region from 0.72 to 20 mm (14,000 – 500 cm–1). The FTIR is equipped with purge inlets, a ceramic globar source, and a pyroelectric detector. The f-number of the output beam to the sample is five, yielding a half-cone angle of 6 deg, and the opening of the sample holder is 6 mm in diameter. The reflectance measurements can be performed with the 10-degree specular reflectance accessory.
Atomic Force Microscope

Atomic Force Microscope Description
Atomic Force Microscope. A Digital Instruments MultiMode Scanning Probe Microscope (SPM), operated by RHK Technology SPM 1000 Controller and AIM-MI Interface Module.
High-speed, high-resolution infrared camera. A Santa Barbara Focal Plane (Goleta, CA) model SBF161 infrared camera, and a custom-designed optical setup to achieve magnifications ranging from 0.4x to 6.5x. The camera sensor has a 128×128 pixel resolution, 14-bit dynamic range, can acquire full-resolution images at 1.6 kHz, and is capable of sampling rates of up to 9.4 kHz at reduced resolution. At 6.5x magnification (using a germanium compound lens with a broadband anti-reflection coating to provide transmission from 2 -12 µm), the spatial resolution is approximately 7 µm, at the diffraction limit for infrared optics.
Mikron M360
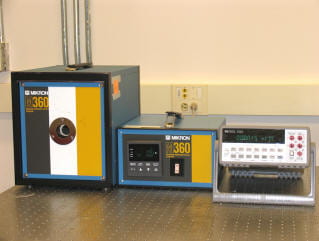
Mikron M360 Description
A high-temperature blackbody calibration source Mikron M360 is also available in the PI’s lab for calibration of radiation thermometers and emissivity measurements. Its temperature range is from 100 to 1100 °C and accuracy is ±0.2% of reading ±1 °C. The resolution and the stability are ± 0.1 °C below 1000 °C.
Monochromator
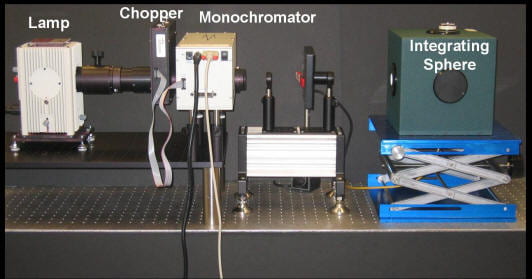
Monochromator Description
A monochromator has recently been purchased and installed for broadband measurements in the visible and near-infrared (0.4 – 2.4 mm wavelengths). The rotation of two gratings inside the monochromator and the change of filters allow wavelength selection from an incoherent light source (tungsten lamp) with 0.5 nm accuracy and 0.11 nm precision. An integrating sphere allows the directional-hemispherical reflectance to be measured in the visible and near-infrared regions. The 8-inch diameter sphere is coated with PTFE (polytetrafluoroethylene).
Optic-Fiber-Coupled Laser System
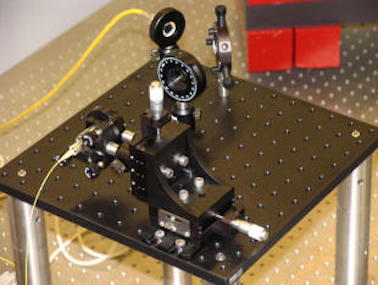
Laser System Description
Optic-fiber-coupled laser system connected with thermoelectric cooler provides excellent wavelength and power stability within 0.2% fluctuation. The lasers can be conveniently interchanged for measurements at different wavelengths. A polarizer selects the polarization of the incident beam, and two divided beams by a beamsplitter go to the reference detector or the sample.
Three-Axis Automated Scatterometer (TAAS)
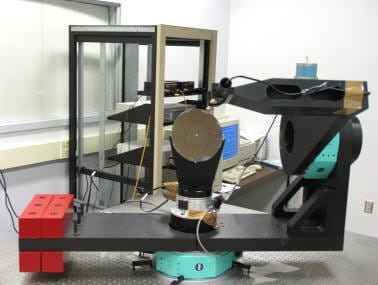
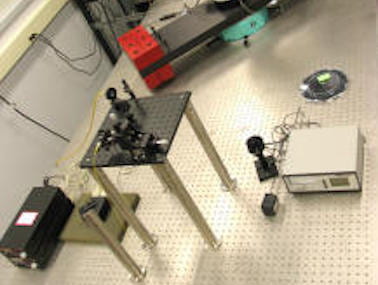
TAAS Description
A Three-Axis Automated Scatterometer (TAAS) facility has been developed for measuring BRDF/BTDF of semiconductor wafers and other thin-film materials. The goniometric table is composed of three rotary stages with high angular resolution (0.005 degrees) and repeatability (0.0006 degrees). A lock-in amplifier or a mechanical chopper combined with trans-impedance pre-amplifiers of a large dynamic range can avoid background radiation. The sample holder allows a large sample up to 300 mm diameter to be measured. A heated sample holder can be included in the system for measurements at the elevated temperature.
Other Resources
The Microfabrication Facilities in the Woodruff School and the Georgia Tech Microelectronics Research Center (MiRC), including a combination of class 10 to class 1000 laboratories, are readily accessible for micromachining and surface characterization.
The MiRC contains approximately 7,000 sq. ft. of cleanroom for the advanced device, microstructure, and circuit development. Major pieces of equipment include sputtering, thermal and E-Beam evaporators for thin-film deposition, mask aligners, dicing saws, scribers, etchers, spinners, furnaces, ellipsometer, profilometers, SEM, AFM, and precision polishing and lapping machines. The MiRC building also contains various workstation-based computer-aided design facilities, a fully-equipped mask-making facility with a Mann 4800 DSW configured for direct step on photoplates, and fully-equipped simulation and modeling facilities.